
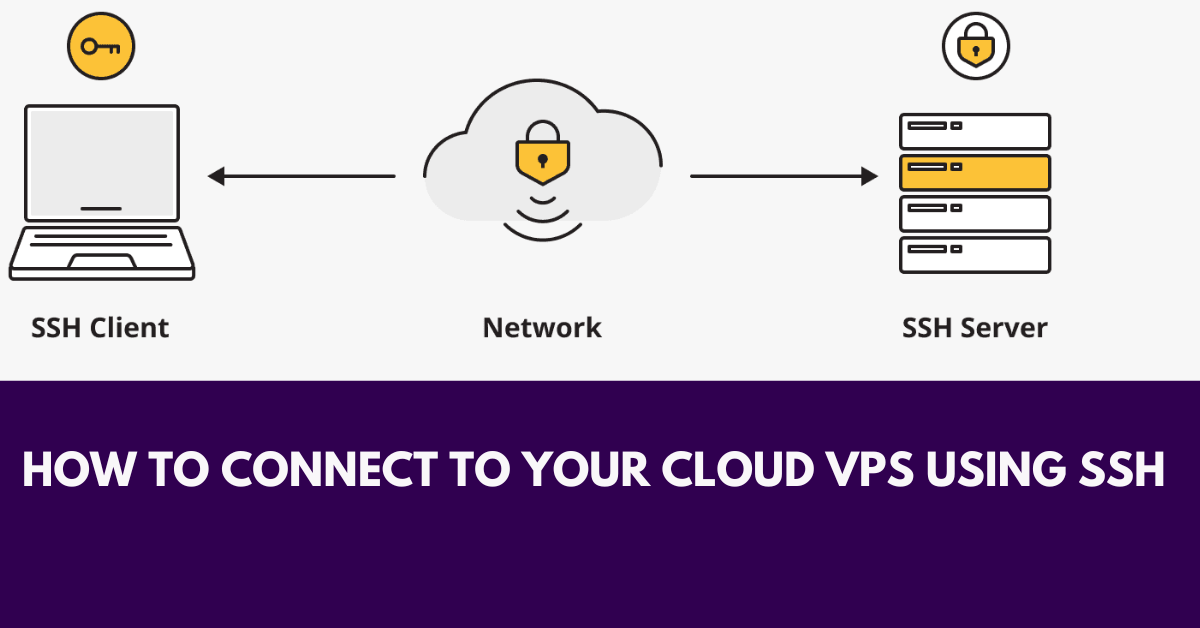
How to Securely Connect to Your Cloud VPS via SSH (Windows & Linux Guide)
Once you’ve completed your VPS order (Cloud VPS 10, 20, 30, or 40), your server is provisioned and you’ll receive an email containing your instance’s key configuration details.
In this guide, we’ll walk you through how to securely connect to your VPS using your private SSH key, on both Windows and Mac/Linux systems.
Sample Server Configuration
Here’s an example of what your email might include:
VPS Plan: Cloud VPS 10 NVMe 2025-06-28 16-30
Region: SIN
Billing Period: 1 month(s)
Public IP: xxx.xxx.xx.xxx
SSH Key Name: example_key
SSH Key ID:	xxxxxx
Default User:	<username>
Public IP:	xxx.xxx.xx.xxx
Instance ID:xxxxxxxxx
Created:	2025-06-28T16:30:39.084Z
Your keys are sent in a separate email. Keep them private, secure, and never share your private key with anyone. We strongly advice after accessing your VPS by SSH, you create new private and public key or add the personal ones you have previously while deleteing the keys used during setup. This is to ensure security peradventure your mails are not private.
How to Save Your SSH Keys
For Windows:
- Create a folder:
C:\ssh_keys\example_key - Inside the folder:
- Save the public key as
example_key.pub - Save the private key as
example_key(no extension)
- Save the public key as
- Secure the private key:
- Right-click the file → Properties → Security
- Click Advanced → Disable Inheritance
- Remove all users except your current Windows account
- You’re done! Now let’s connect.
For macOS / Linux:
mkdir -p ~/.ssh/example_key
cd ~/.ssh/example_key
Save your keys:
# Save the public key
echo "ssh-rsa AAAAB3Nz... your-public-key ..." > example_key.pub

# Save the private key securely
nano example_key
# Paste your private key, then Ctrl + X → Y → Enter
Set permissions:
chmod 600 example_key
chmod 644 example_key.pub
Connecting to Your VPS
Use this command on your terminal:
ssh -i /path/to/example_key <username>@xxx.xxx.xx.xxxReplace /path/to/example_key with the actual path to your saved key file.
Optional: Using PuTTY (Windows GUI Users)
If you’re using PuTTY, you need to convert the key first:
- Install PuTTYgen or use WSL:
sudo apt install putty-tools
puttygen ~/.ssh/example_key/example_key -o example_key.ppk
Open PuTTY → Go to SSH > Auth → Browse and select example_key.ppk
Enter the VPS IP and <username> under Session tab → Click Open
Security Recommendations
- After first login, upload your own new public key to the server:
echo "your-new-public-key" > ~/.ssh/authorized_keys
Or manually replace it using:
nano ~/.ssh/authorized_keys
Never share your private key.
Optionally protect it with a passphrase:
ssh-keygen -p -f ~/.ssh/example_key/example_key
Add the key to your SSH agent for convenience:
ssh-add ~/.ssh/example_key/example_key
Troubleshooting Tips
- Permission Denied (publickey): Ensure correct path and file permissions
- Permissions too open:
chmod 700 ~/.ssh
chmod 600 ~/.ssh/example_key/example_key
Admin vs Root: What’s the Difference?
When connecting to your VPS, you’ll notice you’re logging in with a user like <username>, not root. Here’s why:
| Method | Access Level | Security | Recommended |
|---|---|---|---|
ssh root@your-ip | Full superuser | ❌ Less secure – Direct access to root if compromised | ❌ No |
ssh → sudo -i | Full (via escalation) | ✅ More secure – Controlled access with audit logs | ✅ Yes |
Why use <username>root?
- 🔒 Better Security: Root login is often targeted by bots.
- 👣 Traceability: Actions via
sudoare logged and tied to the admin. - 🛡️ Best Practice: Most cloud providers disable root SSH access by default for safety.
If you need root access, simply escalate once logged in:
sudo -iAvoid enabling root SSH login unless absolutely necessary.
You can check your current setting with:
sudo grep PermitRootLogin /etc/ssh/sshd_configIf you see #PermitRootLogin prohibit-password or no, it means direct root SSH login is disabled – as it should be.
Once your VPS is up and running and you’ve securely accessed it via SSH, the next important step is connecting your domain to your server.
To do this, you’ll need to update your domain’s nameservers or DNS records. If you’re using Hordanso’s DNS service, log in to your Client Area and navigate to Domains > Manage Nameservers.
You can either:
Use custom nameservers provided by Hordanso (e.g., ns1.hordanso.net, ns2.hordanso.net), or
Manually set up A records pointing to your VPS IP (e.g., xxx.xxx.xx.xxx) in the DNS zone.
Make sure your DNS propagation can take up to 24–48 hours globally.
Need Help?
We’re here for you. Visit your Client Portal or open a ticket anytime.
© 2025 Hordanso LTD. All rights reserved.
Hosted with care. Powered by you.

